With Ubuntu, you can customize the DNS server for your computer using the command line or the GUI. Alternatively, you can modify the default server in your router settings.
How to customize DNS servers in network settings
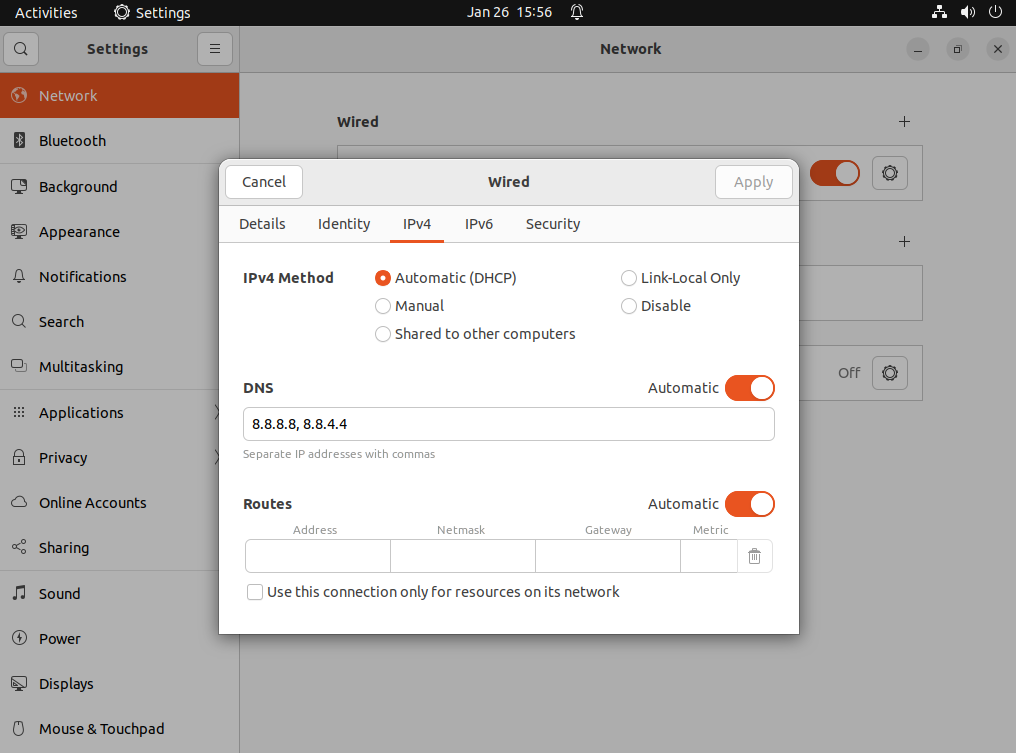
Using Ubuntu with a graphical interface? Then you can use the Network Manager to modify the DNS servers.
Step 1: Launch the system Settings and select the Network menu.
Step 2: Enter the desired DNS server in the IPv4 and IPv6 pop-up in the appropriate format. To enter multiple server alternatives, separate the addresses with a comma.
Step 3: To ensure that the switch has worked, cut the server connection for a moment. After reconnecting to the internet, the new DNS server should be in use.

How to change your DNS server using the terminal
To set your DNS server in Ubuntu, you don’t need to rely on a graphical interface. You can simply use the command line to amend the DNS server. The resolv.conf file is used to assign DNS servers. Theoretically, you can just open the file and enter new name servers. However, because it’s managed by the system, changes are overwritten after a reboot. To prevent that from happening, do the following:
Step 1: Install the resolvconf, which lets you overwrite the system’s DNS information. Prior to installation, perform any updates as you normally would.
sudo apt update
sudo apt upgrade
sudo apt install resolvconf
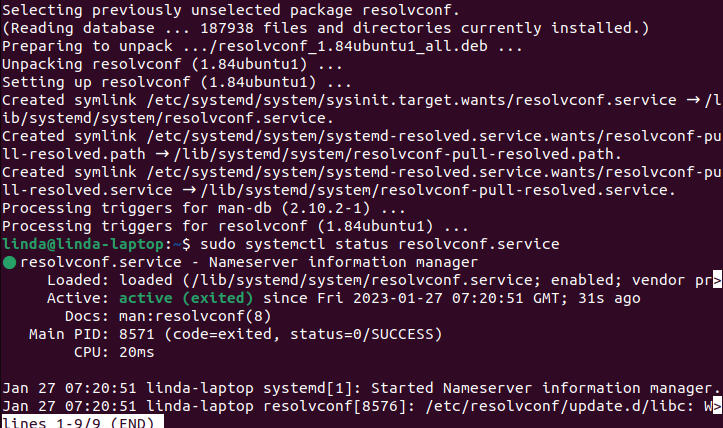
Step 2: After installation, the service should be activated. You can do this using the following command:
sudo systemctl status resolvconf.service
If the service hasn’t been activated, you can start resolvconf manually:
sudo systemctl start resolvconf.service
sudo systemctl enable resolvconf.service
sudo systemctl status resolvconf.service
Step 3: Once resolvconf is running, you can make changes to the head file. Open the document using the nano editor:
sudo nano /etc/resolvconf/resolv.conf.d/headEnter the DNS servers you’d like to use. Google’s DNS service is very popular. The search engine service offers two IPv4 addresses for this purpose.
nameserver 8.8.8.8
nameserver 8.8.4.4
Now save and exit the file.
Step 4: Update the resolv.conf file that is responsible for the DNS servers. Use the following commands to do so:
sudo resolvconf --enable-updates
sudo resolvconf -u
Step 5: For the changes to take effect, you should restart the corresponding services:
sudo systemctl restart resolvconf.service
sudo systemctl restart systemd-resolved.service
Check the resolv.conf file to view your changes. You can also see which DNS servers are currently in use. There are different commands for this, depending on which Ubuntu version you use.
Ubuntu 18.04 & 20.04:
systemd-resolve --statusUbuntu 22.04:
resolvectl status
